Services
 Solutions
 Main platform
 Technology
 White Label
  Offshore
 Hire developers

Creating a React Native Calendar Component can improve the user experience, save time, be customized to specific project needs, and be used across multiple platforms. In this post, we will guide you through some easy steps to create a react native calendar component.
What is React-Native Calendar
React-Native is a JavaScript framework that is the most effective. It helps enhance one’s programming skills and also helps in developing one’s experience with the whole of the new world. People can use Calendars to keep track of days, months, and years both in the past and in the future. Not only a calendar application helps one to plan better schedules but it also makes one know all the due dates during the month as well as the upcoming events. It is helpful to have a calendar that helps set a specific date and time, which is helpful for important meetings and events. People can develop a calender with React-Native easily because it supplies the best platform for developing dynamic products and executing successful projects.
Benefits when Creating a React Native Calendar Component?
React Native Calendar is a useful component for developers who want to add a calendar feature to their React Native applications. It provides a customizable and flexible interface that can be tailored to meet specific project requirements.
- Improved User Experience: A calendar component can enhance the user experience by allowing users to easily select and view dates. It provides a visual representation of the passage of time and can help users organize their schedules.
- Time-Saving: With a pre-built calendar component, developers can save time on designing and implementing a calendar feature from scratch. This can be especially helpful for projects with tight deadlines or limited development resources.
- Customizable: By creating a custom calendar component, developers can tailor it to the specific needs and requirements of their project. This includes customizing the look and feel, adding features and functionality, and integrating with other components.
- Cross-Platform Compatibility: React Native allows for the development of cross-platform applications, which means a calendar component built for React Native can be used on both iOS and Android platforms. This can save development time and resources by reducing the need to create separate components for each platform.
Let’s explore the most basic steps following to create React-native-calendars
Step 1: Creating a New Project
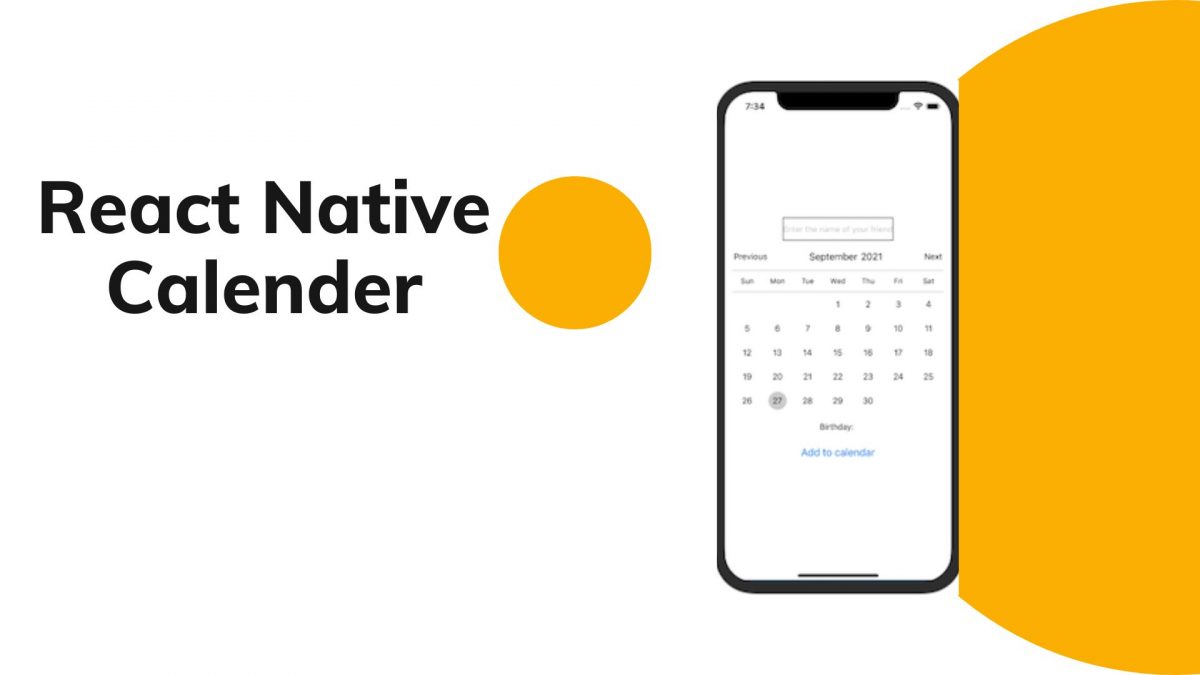
First, with the React-native-calenders programming language, it is important to install a couple of reliable files and software inside your system to create all the essential attributes to build your application first. Therefore, we will choose to use the simplest method to build a calendar component in React Native. To clear up, we will use an all-in-one IDE that will not need to be set up additional, as a result of its plug-and-play feature. Then, the IDE will spend just a few seconds creating your project and preparing a preview device. After getting ready, it will look like this:

Step 2: Creating new components
To be allowed to use the React framework and React-native-calendars components in projects, add the following construction statements at the beginning of the App.js file:
import * as React from 'react';
 import * as RN from 'react-native';
Next, You should create a broadened Component class to create a custom React component. In the class, you must also have a method additional named render(), which renders JSX code. “MyCalendar” which people can see following is the name of component to be created by the code:
class MyCalendar extends React.Component {
   render() {
     return (
       <RN.View>

       </RN.View>
     );
   }
 }
we are returning an empty View constituent in the render() method. It’s going to be a role as a container for all the other elements of our calendar.
Step 3: Creating constants when developing your React native calendar component
There are indeed two string arrays that need to be in The React-native-calenders component: one to stock the names of the week and one to stock the names of the days of the months.
 months = ["January", "February", "March", "April",
 "May", "June", "July", "August", "September", "October",
 "November", "December"];

 weekDays = [
     "Sun","Mon","Tue","Wed","Thu","Fri","Sat"
 ];
Then, It is an array that we will need to store the number of days each month. Therefore, let the number be 28 for February and leap years later will be handled by writing the code.
nDays = [31, 28, 31, 30, 31, 30, 31, 31, 30, 31, 30, 31];
Step 4: Initialize a state for your React native calendar
If we want our React-native-calenders component to be interactive, we must certainly have a state associated with it. Now, we’re going to store a Date object inside the state only, loaded to today’s date.
state = {
     activeDate: new Date()
 }
The state, obviously, is changeable. At the time when users tap on an alternate date in the Calender, we’ll be meaningfully having an impact on the state to utilize the new date.
Step 5: Placing the first day of the month
To get React-native-calenders done as such, It’s the first important thing is to get the year and month of the Date object stored in the state. Then, at that point, make another Date object utilizing those qualities and 1, the first day of the month. And you get the day of the month.
var year = this.state.activeDate.getFullYear();
 var month = this.state.activeDate.getMonth();
 var firstDay = new Date(year, month, 1).getDay();
Besides, we need to have a manual way to add an extra day while handling leap years because of not using the nDays array to determine the number of days the ongoing month has on the React-native calenders directly. If the month’s February, this is how it’s done:
var maxDays = this.nDays[month];
 if (month == 1) { // February
   if ((year % 4 == 0 && year % 100 != 0) || year % 400 == 0) {
     maxDays += 1;
   }
 }
Step 6: Add names of months for your React native calender
We should connect a fontWeight property with every Text part so that we highlight today’s date or the date the user selects in our Calendars. We’ll set it to boldface whenever its contents match the date in our state’s activeDate variable. Therefore, let’s show the year and the current month’s name by adding a Text component to the currently empty View component. Moreover, you can use the style prop to add styles to the text.
<RN.Text style={{
   fontWeight: 'bold',
   fontSize: 18,
   textAlign: 'center'
 }}>
   {this.months[this.state.activeDate.getMonth()]}
   {this.state.activeDate.getFullYear()}
 </RN.Text>
Do you want to know how to use the map() method to alternate for loops while generating a component ranking for the contents of the matrix of the React-native calenders? Follow the following code:
var rows = [];
 rows = matrix.map((row, rowIndex) => {
   var rowItems = row.map((item, colIndex) => {
     return (
       <RN.Text
         style={{
           flex: 1,
           height: 18,
           textAlign: 'center',
           // Highlight header
           backgroundColor: rowIndex == 0 ? '#ddd' : '#fff',
           // Highlight Sundays
           color: colIndex == 0 ? '#a00' : '#000',
           // Highlight current date
           fontWeight: item == this.state.activeDate.getDate()
                               ? 'bold': ''
         }}
         onPress={() => this._onPress(item)}>
         {item != -1 ? item : ''}
       </RN.Text>
     );
   });
   return (
     <RN.View
       style={{
         flex: 1,
         flexDirection: 'row',
         padding: 15,
         justifyContent: 'space-around',
         alignItems: 'center',
       }}>
       {rowItems}
     </RN.View>
   );
 });
Step 7: Sync months with dates when using your React native calender
Firstly, make a setMonth function.
 setMonth = month => {
 let monthNo = this.months.indexOf(month);// get month number
 let dateObject = Object.assign({}, this.state.dateObject);
 dateObject = moment(dateObject).set("month", monthNo); // change month value
 this.setState({
 dateObject: dateObject // add to state
 });
 };

Then, add it to <td>

 props.data.map(data => {
 months.push(
 <td
 key={data}
 className="calendar-month"
 onClick={e => {
 this.setMonth(data);
 }}
 >
 <span>{data}</span>
 </td>
 );
 });
Now, whenever you click on the name of the month, the calendar is displayed along with the suitable dates accordingly. And it’s obviously changed to appropriate with Days and Months that you choose. The table of month picker is not requested to be there all the time.
Step 8: Changing months
There are two buttons labeled Next and Previous in the Our React-native-calenders component. When users pressed the 2 buttons Next and Previous it moves from one month to another. We should get the activeDate object and increment or decrement its month by 1.
Accordingly, We use the render() method to add the following code towards the end of the JSX returned:
<RN.Button title="Previous"
         onPress={() => this.changeMonth(-1)}/>
 <RN.Button title="Next"
         onPress={() => this.changeMonth(+1)}/>
After that, create the changeMonth() method. Inside it, you must first call the setState() method and then call the setMonth() method to update the activeDate object on the React-native-calendars.
 changeMonth = (n) => {
     this.setState(() => {
       this.state.activeDate.setMonth(
         this.state.activeDate.getMonth() + n
       )
       return this.state;
     });
 }
Step 9: Using the Component
Finally, add the React-native-calenders component to the render() method of your App class and it’s absolutely ready to use.
export default class App extends React.Component {
   render() {
     return <MyCalendar/>;
   }
 }
And we’re all set!
Final words
You absolutely create and use a custom calendar component with obviously interactive, and extensible, and can use in any app and you should feel free to be adding more styles and features to it.
ONextdigital is a digital transformation agency that specializes in React Native application development. Are you looking to create a highly-responsive mobile app? we can help you drive your business forward with our dedicated mobile developers. We provide flexible hiring options for mobile development projects to ensure timely delivery and high-quality output.