A logo stands as a pivotal component in establishing your brand’s identity. It helps you stand out from the crowd, communicate your values, and attract your target audience. But how do you create a logo that reflects your brand and works well on your website? In this article, we will show you how to create a webflow logo using Webflow, a powerful and easy-to-use web design tool.
Webflow allows you to design and build your own logo without any coding or graphic design skills. You can customize your logo with different fonts, colors, shapes, and animations, and make it responsive to different screen sizes and devices. By the end of this article, you will have a webflow logo that you can use on your website, social media, print materials, and more. Let’s get started!
What is a Webflow Logo?
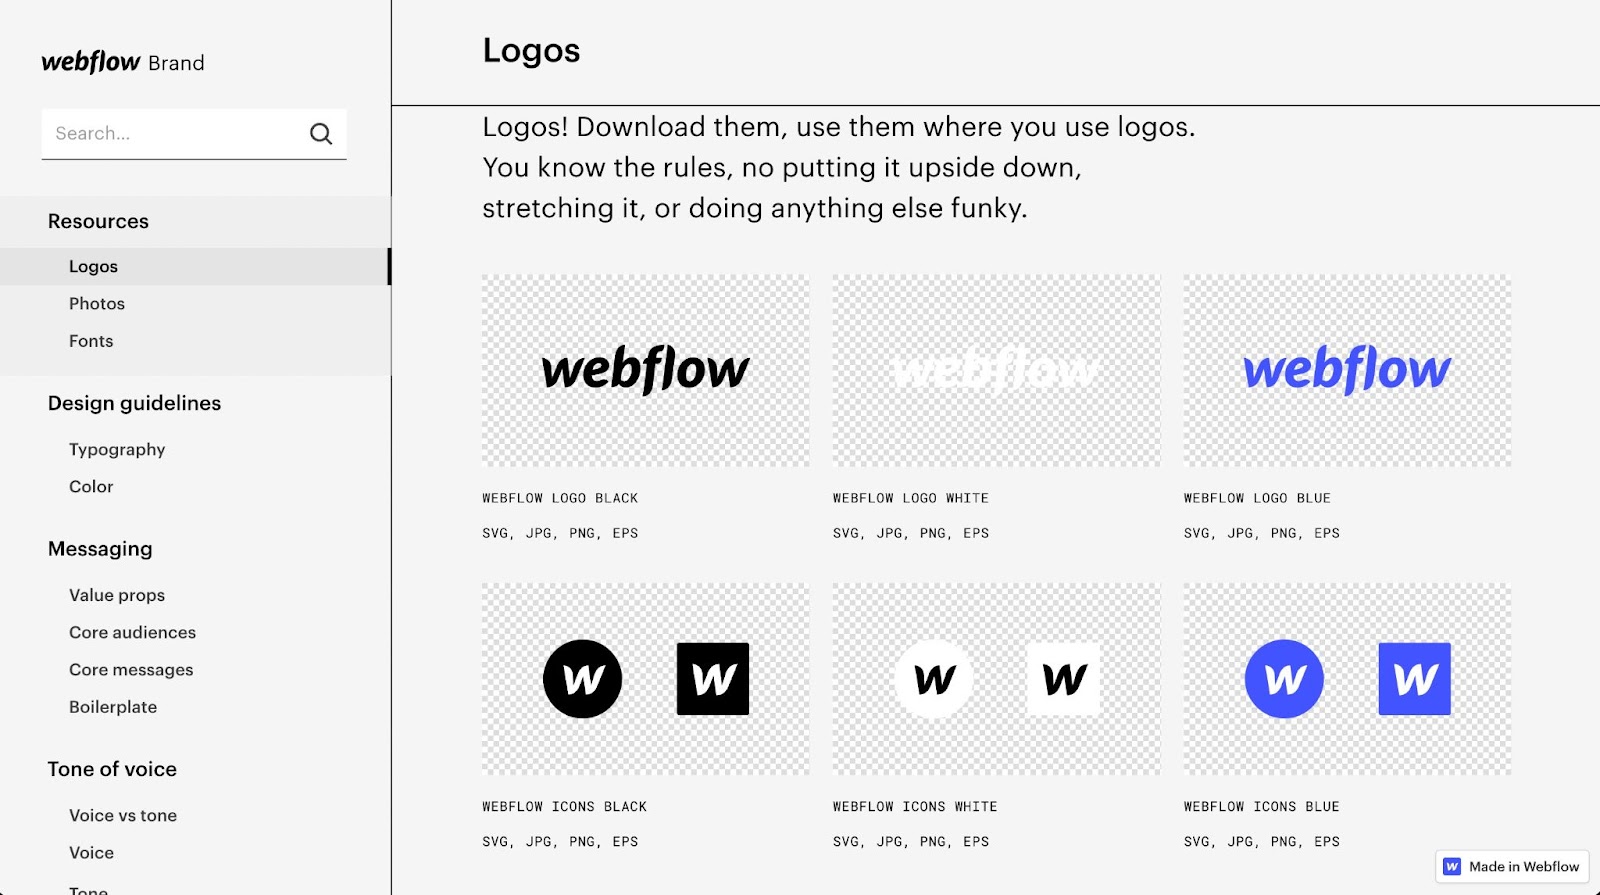
A webflow logo is a logo that you create using Webflow, a visual web development platform that lets you design and build websites without writing code. Webflow gives you full control over the look and feel of your logo, as well as its functionality and interactivity. You can create a webflow logo from scratch, or use one of the many templates and assets available on Webflow. A webflow logo can be a text-based logo, a symbol-based logo, or a combination of both. You can also add effects and animations to your webflow logo to make it more dynamic and engaging.
Why Use Webflow to Create Your Logo?
Using Webflow to create your logo has various benefits.
- You have the freedom to visually create your logo without the need for coding or specialized graphic design software.
- Tailor your logo with an array of fonts, colors, shapes, and icons to suit your brand perfectly.
- Add animation to your logo using transitions, transforms, and interactive elements.
- Ensure your logo looks great on any screen size or device by making it responsive and adaptive.
- Export your logo as an SVG file for scalability and efficiency.
- Seamlessly incorporate your logo into your Webflow website or any other platform of your choice.
How to Create a Webflow Logo in 5 Easy Steps
Creating a webflow logo is simple and fun. These are the 5 steps you should adhere to:
Step 1: Create a New Project in Webflow
To create a new project in Webflow, go to Webflow.com and sign up for a free account. Then, click on the “Create a new project” button on the dashboard. You can choose to start from a blank canvas, or use one of the pre-made templates. For this tutorial, we will use a blank canvas. Give your project a name, and click on the “Create project” button.
Step 2: Add a Div Block and a Text Element
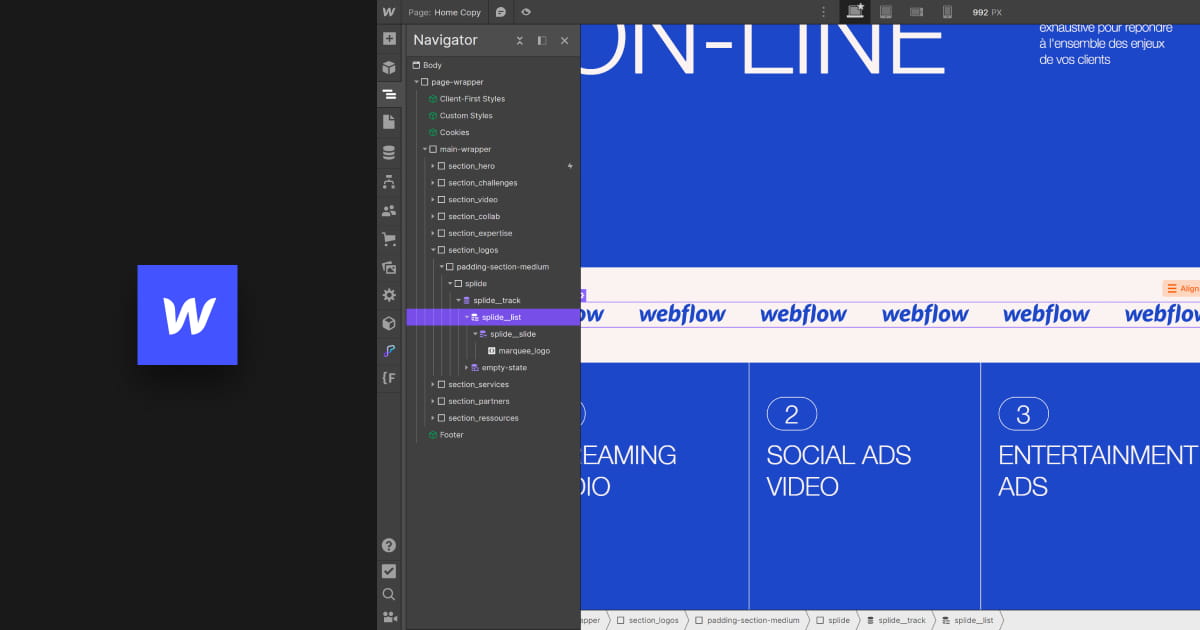
To create a webflow logo, you need two basic elements: a div block and a text element. A div block is a container that holds other elements, and a text element is where you type your logo text. To add a div block, drag it from the “Add” panel on the left side of the screen, and drop it on the canvas. To add a text element, drag it from the “Add” panel, and drop it inside the div block. You can double-click on the text element to edit the text. For this tutorial, we will use “Webflow” as our logo text.
Step 3: Style Your Logo Text
To style your logo text, you need to use the “Style” panel on the right side of the screen. Here, you can change the font, size, color, alignment, spacing, and other properties of your text. You can also use the “Typography” section to access more advanced options, such as font weight, style, variant, and transform. To change the font, click on the “Font” dropdown menu, and choose a font from the list. You can also upload your own custom fonts, or use Google Fonts.
For this tutorial, we will use “Roboto” as our font. To change the size, use the “Size” slider, or type a value in the input box. You can also use the “Unit” dropdown menu to switch between pixels, ems, rems, and percentages. For this tutorial, we will use “72px” as our size. To change the color, click on the “Color” swatch, and choose a color from the picker. You can also use the “Hex” input box to enter a hex code, or the “Opacity” slider to adjust the transparency. For this tutorial, we will use “#F7B500” as our color.
Step 4: Add a Shape or an Icon
To add some visual interest to your webflow logo, you can add a shape or an icon. A shape is a geometric figure, such as a circle, square, or triangle, and an icon is a small graphic, such as a star, heart, or arrow. To add a shape, drag it from the “Add” panel, and drop it on the canvas. You can resize and position it using the handles and the “Arrange” tools. To add an icon, drag it from the “Assets” panel, and drop it on the canvas. You can also upload your own icons, or use Font Awesome icons.
For this tutorial, we will use a circle shape and a website icon. To style your shape or icon, use the “Style” panel, and change the properties such as fill, stroke, border, shadow, and transform. You can also use the “Effects” section to add filters, blends, and backgrounds. For this tutorial, we will use “#FFFFFF” as the fill color, and “10px” as the border radius for the circle shape, and “#F7B500” as the fill color for the website icon.
Step 5: Animate Your Logo
To animate your webflow logo, you need to use the “Interactions” panel on the right side of the screen. In this platform, you have the ability to incorporate triggers and animations into your logo components and view them directly on the canvas. There’s a range of triggers available, including options like page loading, scrolling, hovering, clicking, and others. Additionally, you can select from various animations like movement, rotation, scaling, fading, and more. For this tutorial, we will use a page load trigger and a scale animation for the circle shape, and a hover trigger and a rotate animation for the website icon.
Conclusion
You have just learned how to create a webflow logo using Webflow, a powerful and easy-to-use web design tool. You can use your webflow logo on your website, social media, print materials, and more. Additionally, you can export your webflow logo as an SVG file, which is scalable and lightweight.
If you need more help with creating your webflow logo, or any other web design project, you can contact ONextDigital, a professional web development service provider. We offers web development, mobile app development, UX/UI design, and white label software services. Visit our website to learn more and get a free quote.


